
This isn’t a technical manual.
If this was a technical manual, this chapter would be about bit rates and audio codecs and pitting podcast hosting services against each other in a fight to the death. For a more technical conversation about hosting and publishing a podcast, the Audacity wiki is a great starting point.
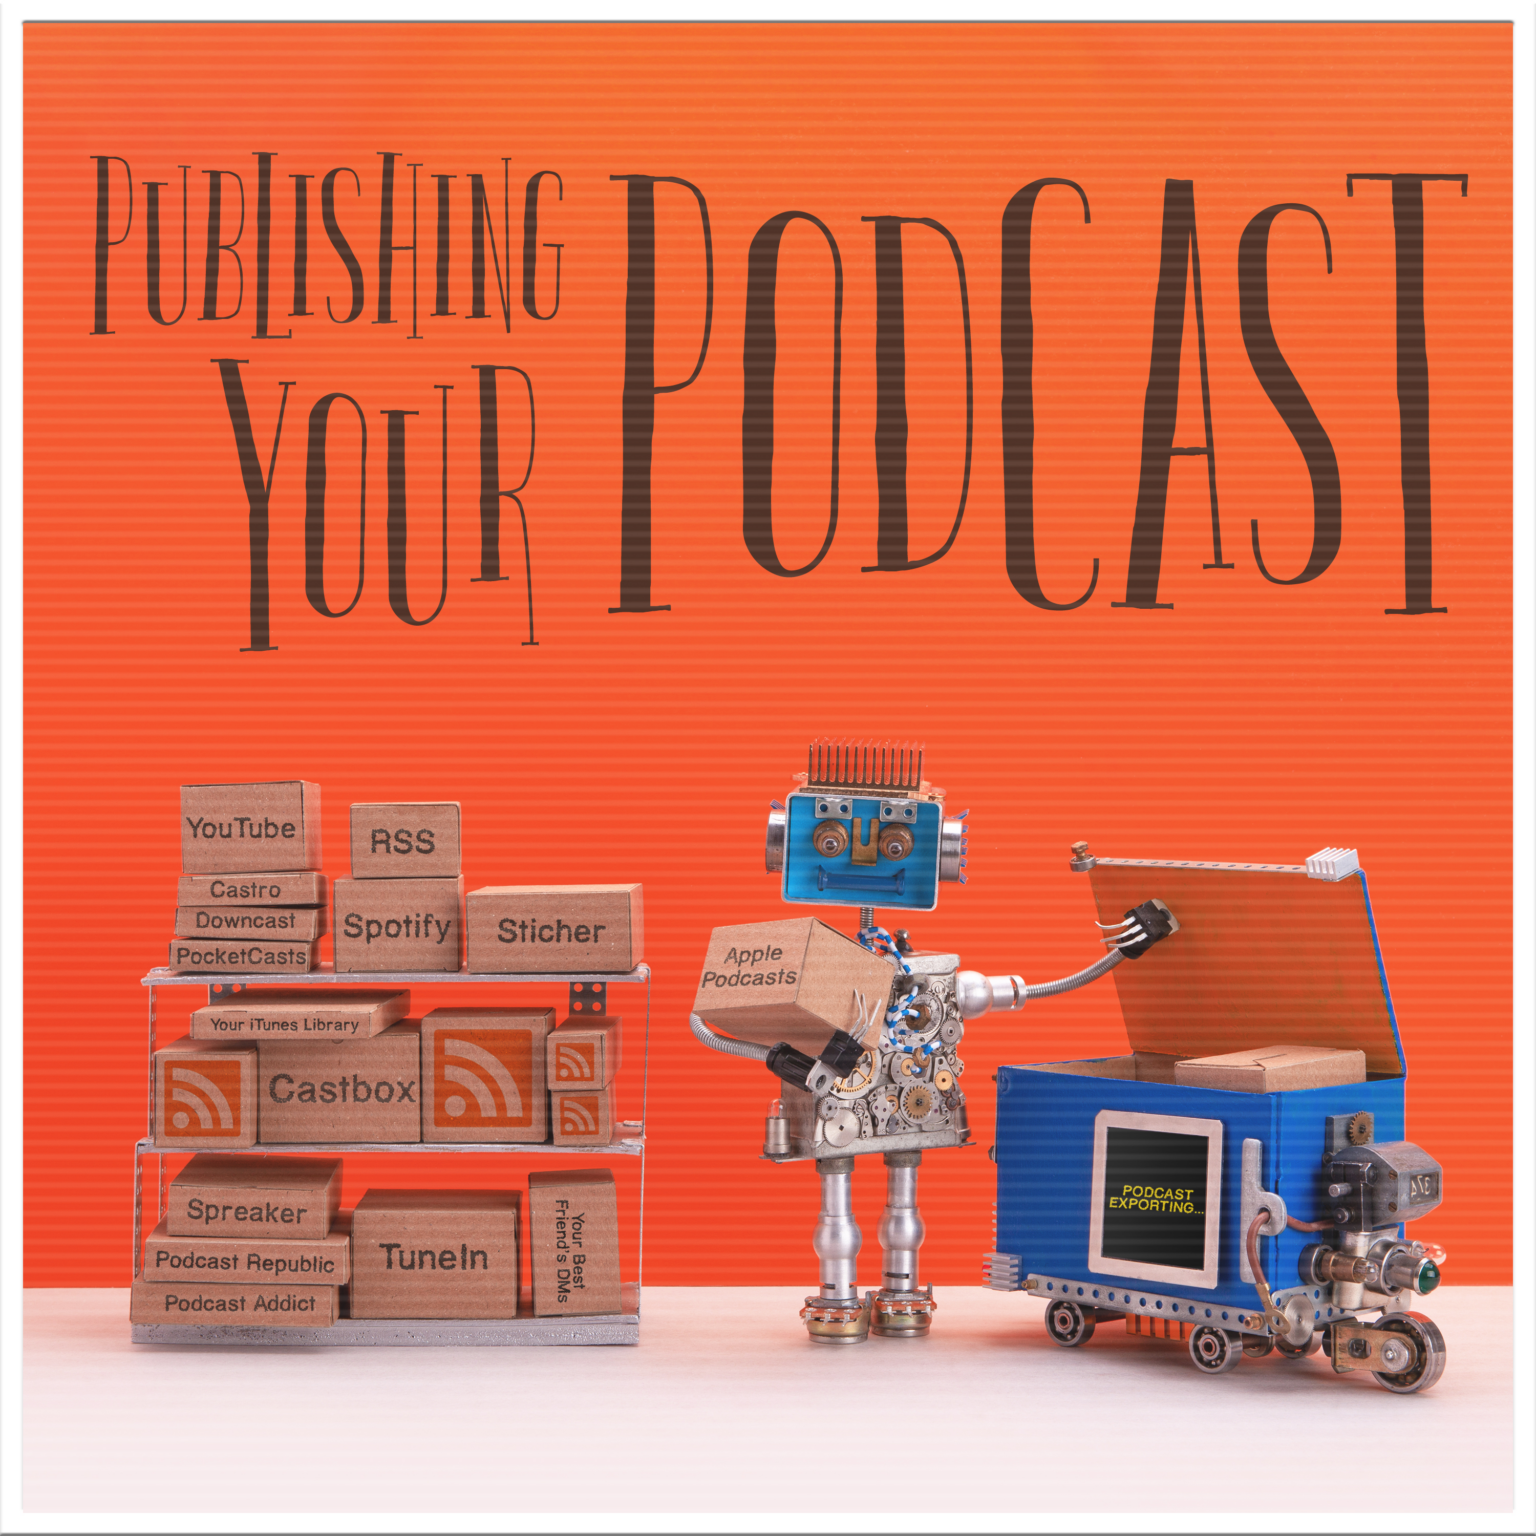
I’ll share a few pieces of our publishing process I think you’ll find useful. These tools will help you increase the quality, utility, and searchability of your podcast with a minimum effort on your part. Content is still king, but there is a lot of content out there. With light editing to give it a professional polish and smart publishing practices, your show will stick out and get noticed.
Editing Tricks
“We might produce three hours of content for every hour-long show.” Darrell Darnell, Co-Founder – Golden Spiral Media
Once you have your podcast recorded, you’ll put the raw recording through some process before you publish it. Maybe you record your theme song and other incidental sound cues live, so it’s as simple as trimming the ends and exporting your MP3. Maybe you meticulously edit your audio, every person on their own track, with audio clips from the show added in post-production.
As I mentioned earlier, we published our podcasts within 28 hours of an episode airing, so I didn’t have time for a lot of post-production. Instead, I developed the following tricks to give our shows a lot of polish in a small amount of time.
Track Edits As You Go
While we usually tried to record all our podcasts “live-to-tape,” on occasion we’d record something we’d rather not have in the show. Sometimes it was a curse word. Other times it was an argument with my co-host that got awkward, and not in a good way. Whatever your bad moment is, you aren’t going to want to spend time hunting it down when you go to publish the episode.
I have two different ways to track edits. Both use the time code on your recording. This is the number constantly going up as you record, like 00:02:20.364. This breaks down to HOURS:MINUTES:SECONDS.MILLISECONDS. If you make a mistake, take note of the time code so you can quickly edit it out in post. Sometimes, I typed time codes into the top of the Show Doc. Other times, I would keep a notepad nearby and jot them down[16]16. Keeping track of these time codes saved me time that would have otherwise been spent scrubbing through my timeline to locate mistakes I only half-remembered. I also didn’t have to worry about missing something. Once I made it through the list, I knew the show was good to go.
PRO TIP: If you’re working from a list, move through the list from the bottom up. If you edit out mistakes that occur earlier on your timeline first, you’ll throw off the time codes for the rest of your edit list. Working back-to-front ensures you won’t create new problems for yourself.
Bonus Clips
I added a little blooper clip at the end of every podcast we published, a reward for listeners who stuck through to the end of the closing theme song. Sometimes it was as simple as some pre-show banter, other times we’d end up improvising a parody of Bad Romance, all about the love life of Emma Swan on Once Upon A Time.
These bonus clips can come from your edit list above, provided you’re comfortable sharing them. I always hit record 3-5 minutes before we started the actual episode, and we’d often say something silly enough to make the blooper reel while we were getting ready to go live. Since we live streamed our podcasts, we’d often hang out for a few minutes after the official end of the episode and interact with the chat room. I’d keep the recording going, and pull bloopers from there as well.
“I’ve listened to shows that are so heavily edited (ahhhs and ummms) out, the people sound unnatural because it takes away their speaking patterns, or else they take out every pause… It doesn’t give the audience time to process points because there are no breaks to process what the hosts are saying.” Hope Mullinax, Jaig Eyes And Jedi, Geeky Girl Experience.
Truncate Silence
In podcasting, it pays to think before you speak. Collecting your thoughts reduces confusing language, verbal pauses (Umms, Ahhs), and showcases exactly how much of a fancasting pro you are. When your audience can see you, these pauses feel natural because they see your brow furrowing in thought. If they can’t see you, they might think something is wrong with their podcast player, or get bored after a few dozen pregnant pauses.
In YouTube videos, vloggers pick up the pace by cutting out awkward silences with jump cuts. You can do the same thing for your entire hour-long podcast in just a few clicks using the free audio software Audacity and its built-in effect Truncate Silence, which detects areas of your recording where nobody is talking, then makes them shorter. This can reduce the length of your podcast by up to 5%, so your listeners don’t have a chance to get bored.
If you didn’t record your podcast in Audacity, export a WAV file from whatever program you use to edit. When it’s finished, consider running it through Levelator, which we’ll cover in a minute. Import it into Audacity. Hit Ctrl + A on your keyboard to select your entire recording, then select Truncate Silence under the Effect menu.

Audacity’s Truncate Silence effect, with the default settings.
For the most part, I find the default settings do the job. Run it with the default settings, then play back a minute or two to make sure it doesn’t clip out any of the speech. If it does, adjust the Level in the effect settings (above) to allow for a lower threshold. If this doesn’t help, you need to normalize your audio with a tool like Levelator before using Truncate Silence.
Levelator
Keeping the loudness of your podcast consistent gives your listeners a better experience, particularly when you have multiple/remote hosts with different recording setups. Nobody wants to have to constantly adjust the volume while listening to a podcast, fumbling to turn it down when the music kicks in, then turning it back up to hear a voicemail.

The Levelator.
Most audio editors have some tool to normalize your audio, but I like a free tool from The Conversation Network called The Levelator. Download and install it from their website, then open it up and drag a WAV file of your podcast onto the Levelator window. Give it a minute to do its thing, and when it’s done you’ll find a second WAV in the same folder as your original with _output added to the end of the filename (ex. MyPodcast.wav > MyPodcast_output.wav).

The “Levelated” file is the one on the right, with output in the file name.
This output file has had all of its audio levels normalized, and will play at a consistent level throughout the podcast. Convert this WAV file into an MP3 and your podcast is ready to publish.
2024 Update: The Levelator still works, but is no longer being developed. For a similar tool, consider Adobe’s Podcast Enhance.
Creating Useful Show Notes
So, you’ve created a solid hour of audio content. Great work! Now you need to make sure people can find it. Since Google still doesn’t have audio search, you’ll want to include as much information as possible in your Show Notes, or the blog post attached to your episode that shows up in a podcast player. The more detailed you make your Show Notes, the easier people will be able to find your podcast, and the more value you’ll add for your existing listeners.
But what should you include in your show notes?

An example of our show notes from Legends of Gotham
Episode/Title Description
At the bare minimum, write a short paragraph to let listeners know what you discussed in the podcast. We would generally use our rhyming episode summaries, along with the show’s episode title and official numbering. We always used the same episode numbering as pirated content to increase the searchability (i.e. Season 2, Episode 5 is written as ‘S02E05’).
Here’s an example from Legends of Gotham:
Gotham (S03E12) “Ghosts” – How often does love turn into hate? When Jim killed Lee’s husband, he sealed his fate. Once someone dies, do they leave completely? They might still visit at night, discreetly. Is Jerome the messiah? He’d laugh if you asked him. Will Gotham fall to the cultists who’ve backed him? Will Maria bring trouble to her stately hosts? The past comes alive thanks to Gotham’s “Ghosts”.
This paragraph should let viewers know at a glance what episode we were covering. I also stuffed it with keywords like characters, locations, and plot points from the episode. If somebody searched for “Lee’s husband dies on Gotham” or “Gotham Season 3 Jerome,” our podcast would most likely pop up in their search results.
Use this paragraph, and this paragraph only, for the “Short Description” field when you upload your podcast. You’ll also use it to start your “Long Description” later on.
If you’re fancasting about a TV show, include at least the episode number, if not the official title, in the Title field. This will make it easier for listeners to browse your back catalog to find your discussion about a particular episode. For example, the episode above was titled Legends of Gotham #93 – (S03E12) Donald J. Penguin.
Links
Links make the web go ‘round, and you should include any and all relevant links in your Long Description/Show Notes. Here are just a few examples of links you should include in your Show Notes:
-
- * Your show’s social accounts
- * Your personal social accounts
- * Supporting research (articles, screenshots, etc.)
- * News stories
- * Episode promos
- * Ways to support the show (Patreon, sponsors, etc.)
Always make sure to double-check your links, particularly if you copy and paste them week-to-week. If a viewer wants to support you on Patreon, you don’t want to send them to a trailer on YouTube.
Listener Feedback
Include your show’s contact information, like your voicemail number and e-mail address, in the Show Notes so users can send feedback when they have something to say. People are way more likely to respond to you if they can do it with just a few clicks in their podcast app.
Some podcasts include every piece of listener feedback they receive in their Show Notes to add more keywords for SEO. We never felt the need to do this, but when the amount of listener feedback for Greetings From Storybrooke became overwhelming, we started cutting the feedback we’d read on the show in half. We used half of it on the show, then published a special blog post on our site with our responses to the other half. We’d link to the podcast episode in the blog post, and we’d link to the blog post in the episode’s show notes. This gave us nearly the same SEO advantage as putting listener feedback in the Show Notes themselves, but didn’t clutter them up and risk breaking our podcast feed with a bunch of HTML formatting. It also let us respond to every listener without hurting the flow of the show. Our listeners felt like their feedback mattered every week, even if it didn’t make the final cut.
Promoting Your Episode
Once you publish your episode, let people know. Try these promotional techniques that consistently worked for us.
Episode Posters

Episode posters make your podcast look pro. Most podcast hosting services have a place to upload a custom graphic for the episode. This shows up in podcast players, smart speakers, and even on in-car displays if they listen on the road. It lets podcasters bundle topical branded imagery with their episodes.

Our template for Legends of Gotham.
I suggest creating a template in Photoshop for your episode poster. Include your podcast logo/album art and a place to drop in topical imagery, like an official promo photo.
Create your episode posters in two different sizes, geared towards different platforms:
Widescreen (Twitter, Facebook, YouTube, Blog Post)
Aspect Ratio: 16×9
Resolution: 1920px x 1080px
Square (Instagram, Episode Thumbnail)
Aspect Ratio: 1×1
Resolution: 1080px x 1080px
Tall (Instagram/Facebook Stories)
Aspect Ratio: 9×16
Resolution: 1080px x 1920px
If you don’t have access to Photoshop, or don’t know how to use it, there are a multitude of apps for this on mobile. Adobe Spark lets you import high-res transparent PNG versions of your podcast logo and build your own templates. Canva has both free and paid options with templates for most social media sites. Built-in image editors for Instagram, Twitter, and Snapchat all have their own unique functionality. Play around with some different free and paid options from the App Store and find a tool that works for you.
TV networks and movie studios send out high-quality promotional photos with their press releases. Some fancasts are lucky enough to be on the press release list and get unfettered access. Lucky them! For the rest of us, many sites post press releases in full, including the high-quality imagery. While I can’t provide any legal council, none of my shows, nor any shows made by the fancasters I know, have ever recieved a legal summons/cease and desist/scary letter from a corporate legal team. I assume you’ll be okay as long as you use their official promotional materials. Just do a search for your thing + promo pics (ex. “Gotham s03e05 + promo pics”, which brings up several links to the photos).
You could also screencap your own stills from an OTT service like Hulu. Fair warning, doing this got our YouTube thumbnails flagged once or twice for copyright. If you want to roll the dice, Greenshot is a fantastic screenshot program that you can also use to edit your episode poster, no Photoshop required!
Social Promotion
With two versions of your episode poster in hand, you’re ready to promote your show on multiple social platforms. Write a post promoting your episode when you publish it. If you publish late at night, schedule another post for around 10:00 AM ET the next morning to catch people on both coasts early in the day. We always created a post for the late afternoon or early evening to catch people just getting home from the office.
If you cover a weekly show, always post a link to your latest podcast the day the next new episode releases. Consider posting several, with all the appropriate hashtags, as your show will always have the most social buzz on the day a new episode airs.

Our original #GothamMonday tweet, a parody of the social graphics FOX was using to promote the show before the premiere.
Consider making an hourly post on the day a new episode airs. We began publishing official promo pics with snarky comments using the hashtag #GothamMonday a few weeks before Gotham premiered. Within a few months, the hashtag we created trended every Monday night and was used by the official accounts for the show as well as the cast. Even when the show moved to Thursdays, we still saw #GothamMonday tweets come through.
“I always try to be available to listeners on social media. If they have a question, if they want to point something out to me, I’m always there to listen. In general, I think our listeners are awesome, impressive and really, really funny. I always like hearing from them, and I make sure to point that out on the podcast and then live it out in the world of social media.” Morgan Glennon, Host – Supergirl Radio/Legends of Tomorrow Podcast
The most important social promotion you can do for your podcast doesn’t involve links to your podcast. Live tweet an episode. Search show-related hashtags using a tool like Best-Hashtags.com, then respond to random users using the hashtags. Create polls for your followers to rate their favorite characters. Create silly show-related memes. Actively engage with your fellow fans. That’s the best way to build a following, so that when you do tweet out those podcast links, you’ll have an instant audience of potential new listeners who are one click away from joining your community.